Talk with your Data using Azure AI
Jun 7, 2024

In this article we cover the problem of data inaccessibility, the impact on your business, and the step-by-step implementation of Microsoft’s Azure AI to bring your data to light 💡.
Data is Not Accessible
Companies are collecting, storing, and analysing more data than ever! This data comes in all shapes and sizes, from PDFs and text documents, to structured tables and excel workbooks. It is becoming increasingly difficult for key stakeholders to understand where important data sits and how to access it easily.
Consequences of Data Silos
When relevant information cannot be surfaced quickly, stakeholders waste hours scouring through folders, tabs, or documentation. While there is financial cost to wasting employee time on unnecessary searching, it can also build dissatisfaction or resentment towards the business as a whole.
Furthermore, streamlined access to internal or external data encourages users to make data driven decisions, and to discover opportunities they would not have found otherwise. In the backdrop of an increasingly competitive and tech-driven market, it is critical that companies evolve to leverage modern tools if they wish to stay afloat.
Chat with your Data as a Solution
So how can AI help? Imagine a chatbot that understands the data you have available and where to access it. You can then ask anything from “What were our total sales last quarter?” to “What is our policy on working outside the EU?” and you will get a response in written English.
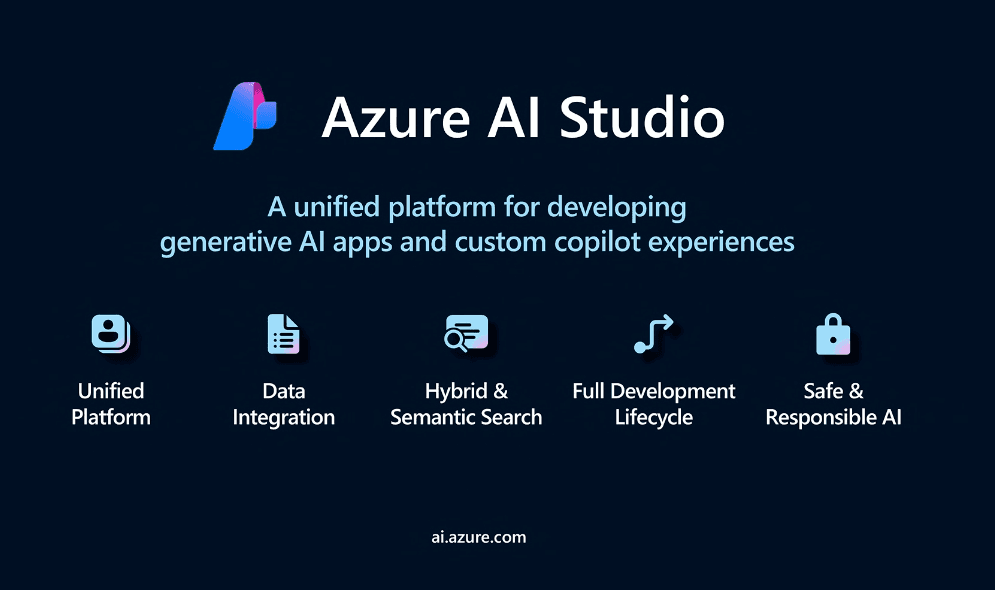
The solution we will be exploring is an implementation of RAG using the Prompt Flow toolkit within Microsoft’s Azure AI Studio. RAG stands for Retrieval Augmented Generation, and is a cutting edge architecture for getting sensible results from large language models by providing context along with the query.
Here, will be building a RAG model to access data within PDFs using the built in functionality of Azure AI studio - more advanced chatbots leveraging structured data need to be coded in a more bespoke manner using notebooks which will not be covered in this article.
Step 1: Set-up
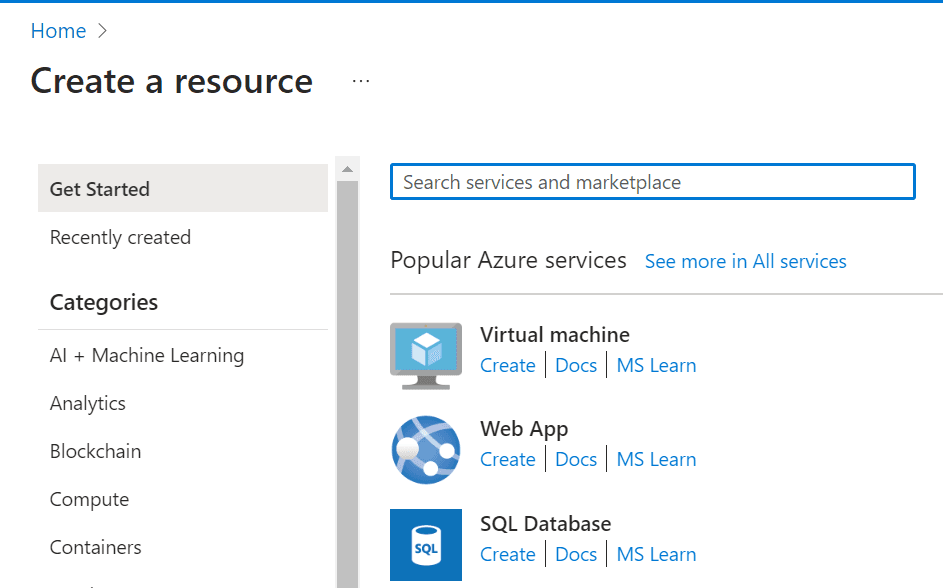
To get started you will require an Azure account and subscription, then to sign into the Microsoft Azure web platform. From here you must create a resource group, a hub to hold projects, an AI Search Services Object, and an AI Search Object. Once complete, you may create a new Azure AI project by choosing a name, and selecting all of the previous objects as parameters. If you have struggled to find any of the components, create the Azure AI project regardless and you will be prompted to create the others.
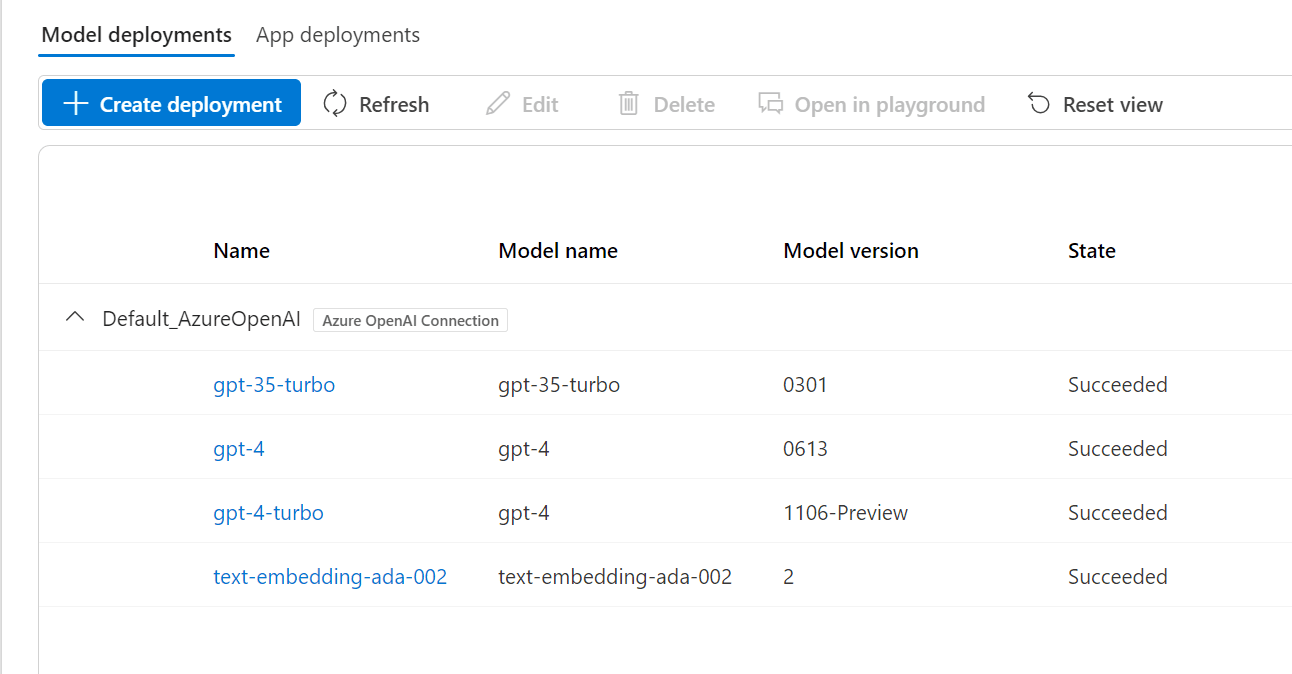
Step 2: Deploy a model
Once you have opened your project and launched Azure AI Studio, click the Deployments tab at the lower left of the screen. This will allow you to deploy a LLM given a selection to choose from. Create a new deployment and pick the model best suited to your needs, typically GPT 3.5 Turbo is sufficient but you can always change to GPT 4.5 Turbo if it fails to meet expectations.
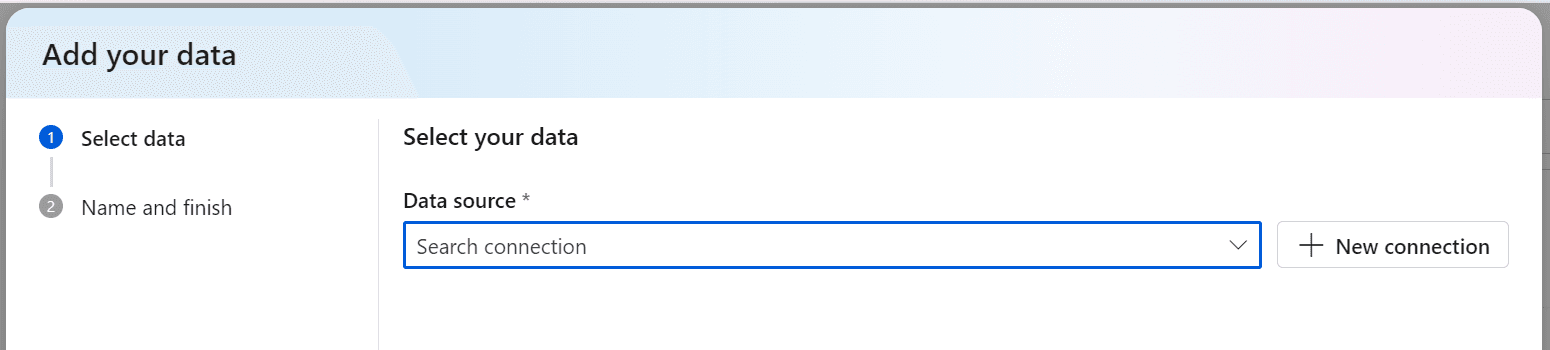
Step 3: Add your data
Head to the data tab on the left hand side and select ‘New Data’. Here you can connect to an existing Azure storage container/blob, or upload files directly from your device. Give the data a name and you are all set.
Step 4: Create an Index
To make the data more accessible to LLMs, we will create a vector search index using the indexes tab. Click ‘New Index’, select ‘Data in Azure AI Studio’ as the data source, and find your data in the dropdown. You must now select your search service and give the index a name, the embedding model can be left as default, with an ada-002 instance being deployed in the environment if there isn’t one already.
Step 5: Create a Prompt Flow
In the Prompt Flow tab, you are given the options to create a new flow from scratch or to start with a pre-built template. We would recommend clicking through the templates to gain some intuition around how prompt flows are structured. For example, the ‘Chat with Wikipedia’ template gives a great end-to-end solution for performing RAG on Wikipedia data, there are also some interesting classification models to try if you are interested.
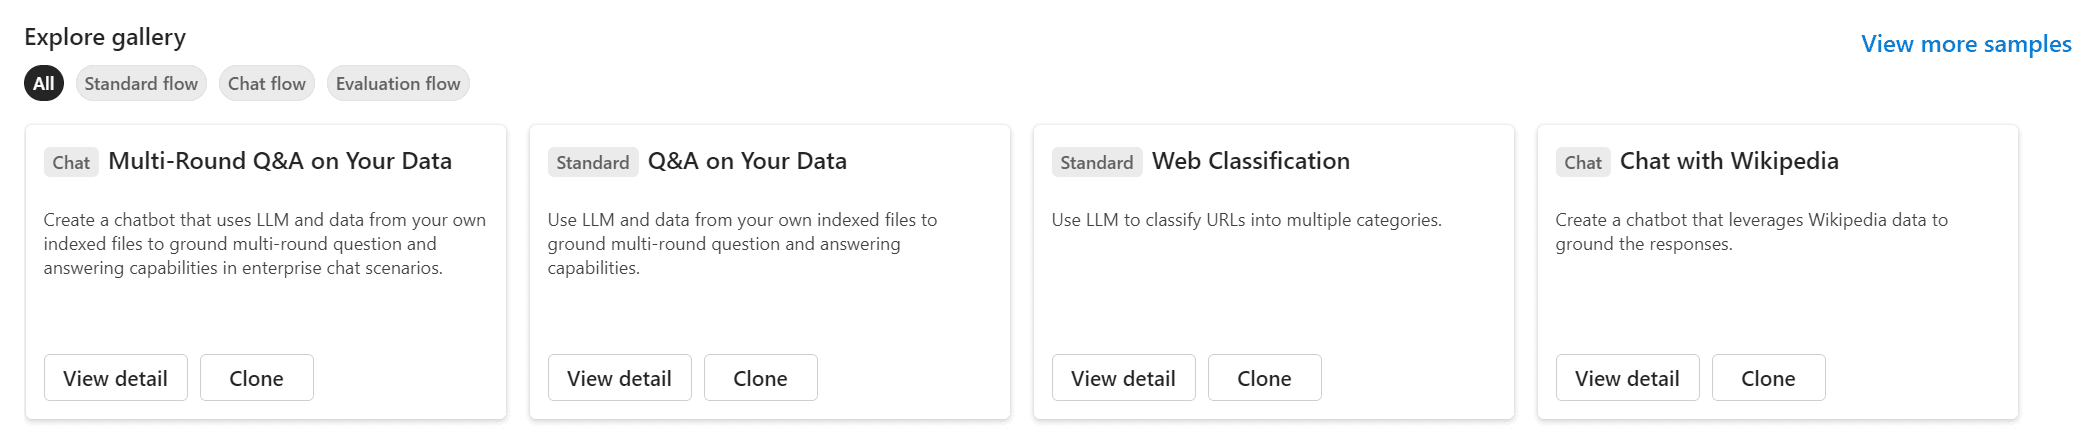
In this article we are interested in creating a RAG model on our own company data, so it is best to choose the ‘Multi-Round Q&A on Your Data’ template. This gives a good foundation for your RAG chatbot, highlighting the steps needed to surface and use relevant content from your uploaded data.
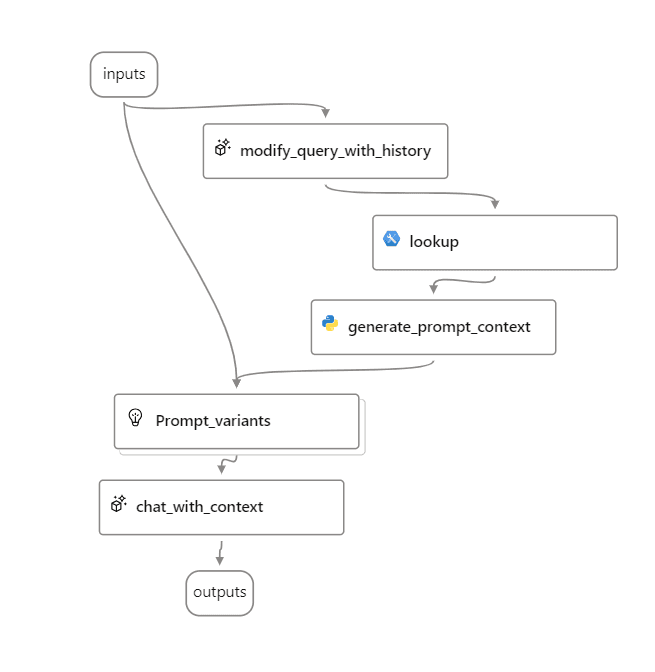
Work your way through the model components and use the dropdowns to select the desired model and dataset where needed. You will see how the model takes your input, rewrites the input using context from the chat history, uses this to find relevant data in your dataset, and writes a prompt which combines your original query with the surfaced information.
Step 6: Deploy and Use
Once you have tried and tested your model in the chat interface, adjusting prompts where necessary, you may upload and deploy your RAG chatbot outside of the environment to an online endpoint. For more bespoke models, and deployment to a fully formed web application, an external team or consultant may be required.
Conclusion
This example barely scratches the surface of how AI can be used to make your data accessible. There are countless functionalities within Azure studio which can be leveraged to accomplish incredible things. Other companies like Langchain are also working to provide equally comprehensive Python Libraries to create more intricate RAG models for businesses. If you’re interested in building an AI RAG chatbot in your company, but lack the technical knowhow, contact us via this website to find out how we can help you.
